Goods Receipt
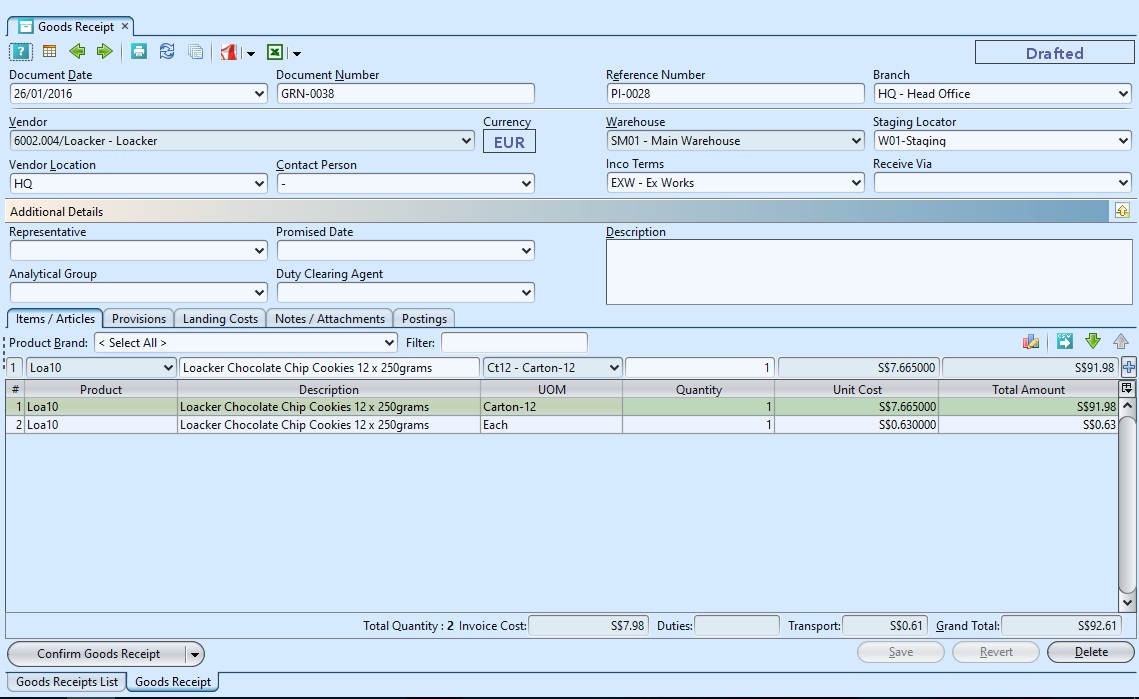
The Inbound Goods receipt application shows the list of products that is going through the receiving process and the status at which the process is. User can update / modify the document based on the received goods. The received goods will then be put away at the warehouse staging area.
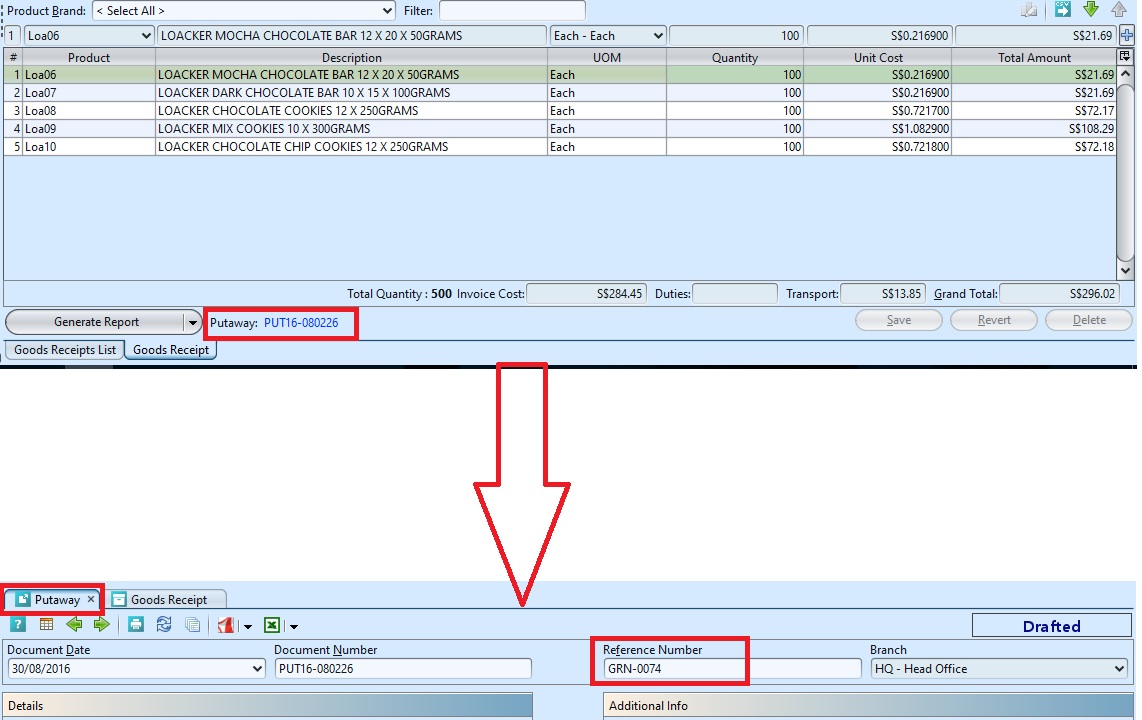
Putaway document referenced to the goods receipts will be generated. There is a link to the putaway document from the good receipts document, it will take user to the putaway view where the user is able to see the complete details of the putaway.
Below actions are available under “Goods Receipt”:
![]() Create new, edit and delete goods receipt
Create new, edit and delete goods receipt
![]() View and search goods receipt
View and search goods receipt

Generate Good Receipt
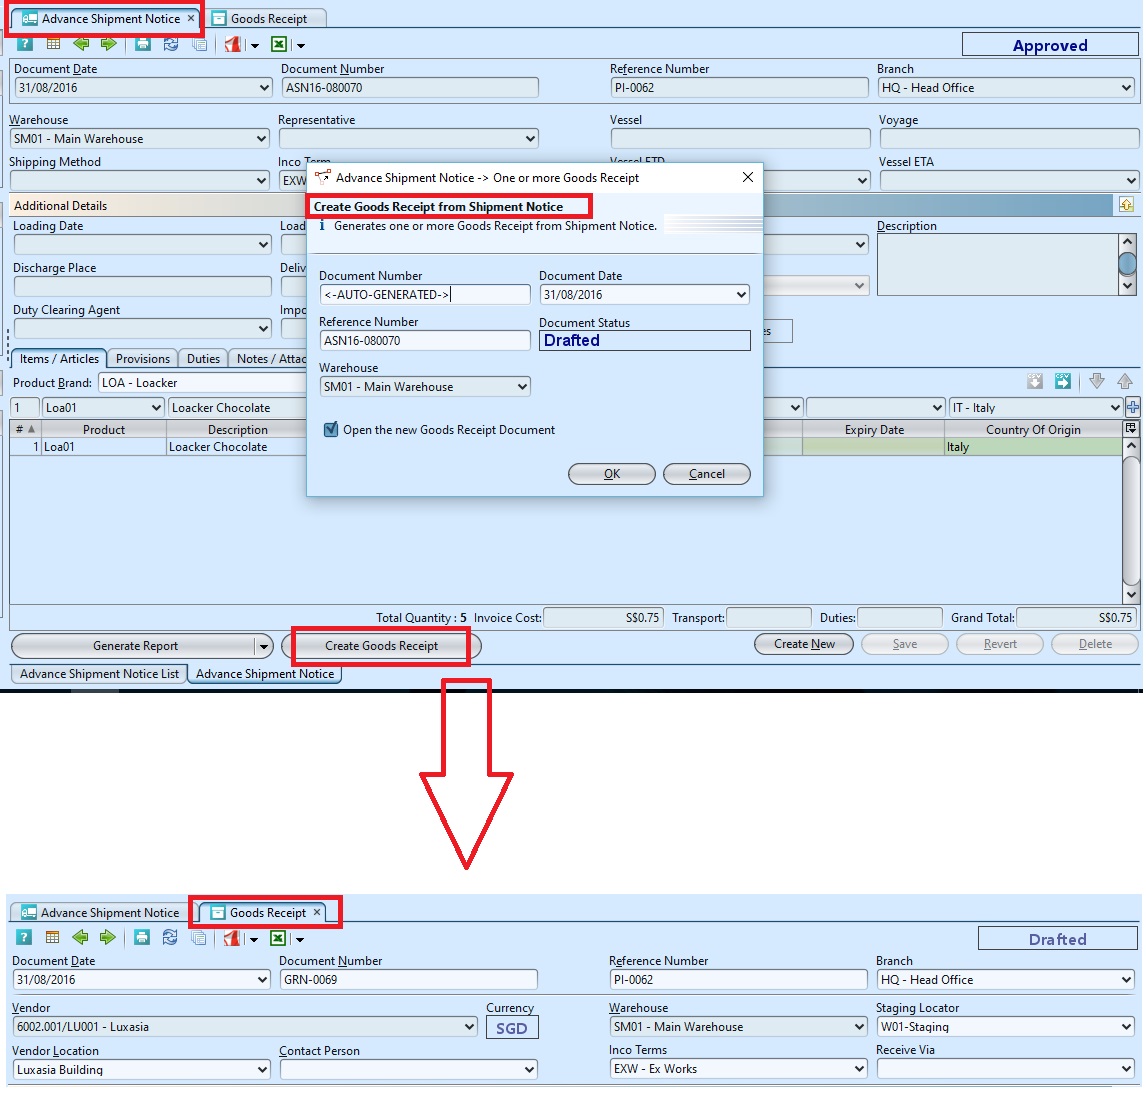
1. The good receipt is to be generated from ASN document using “Inventory – (Inbound) Advance Shipment Notice”. Open ASN document and click “Create Goods Receipt” button at the bottom left of screen to generate a new goods receipt. A link to show the goods receipt will be created, replacing the button
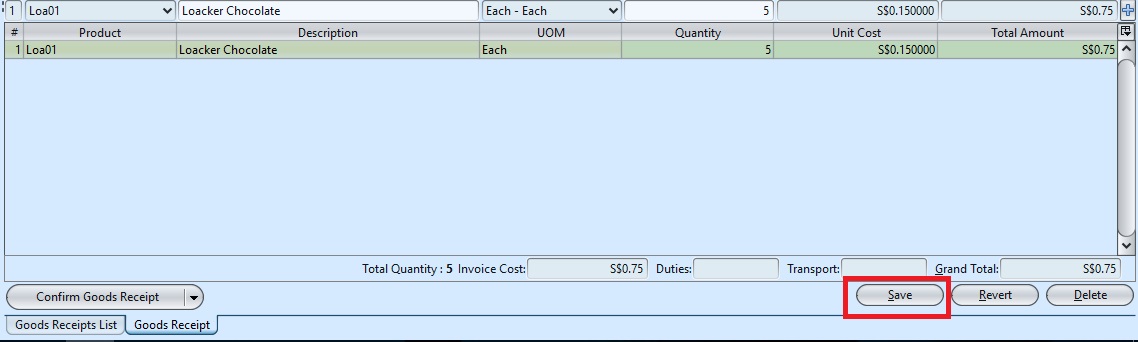
2. User may edit the goods receipt’s information, for example received quantity is different from the ordered quantity, or there are damaged items to be return. Update the information and click “Save” to save the changes. Click “Enter” or ![]() button if the user edited the products’ information in “Items/Articles” tab.
button if the user edited the products’ information in “Items/Articles” tab.

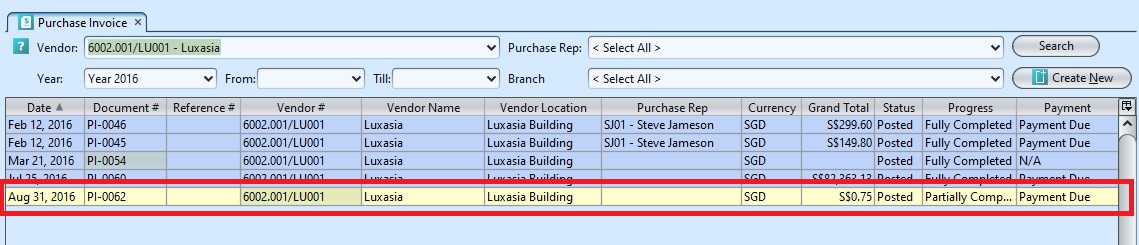
Note: If received quantity is less than ordered, the corresponding Purchase Invoice document will be highlighted in yellow color on the Purchase Invoice list view to indicate progress status as “Partially Completed”, as not all the ordered quantity was received.
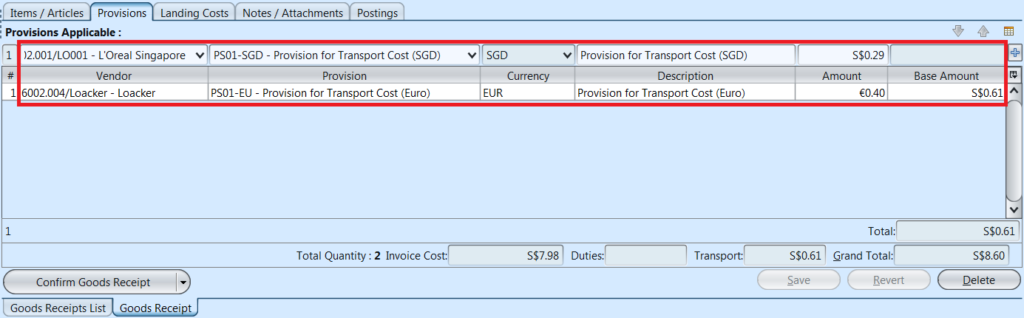
3. Provision scheme entered in the “Provisions” tab will be filtered to match the Vendor’s currency.
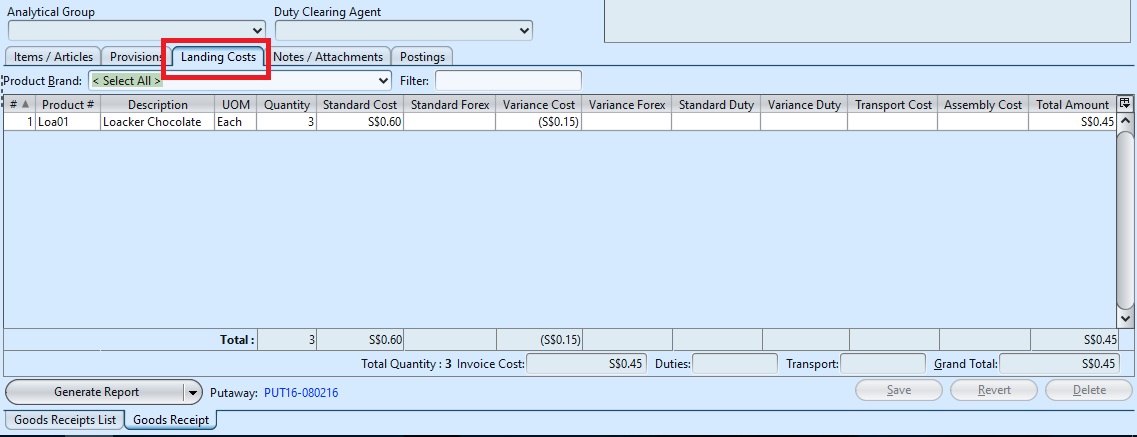
4. The landing cost for the items will auto generated at the “Landing Costs” tab.
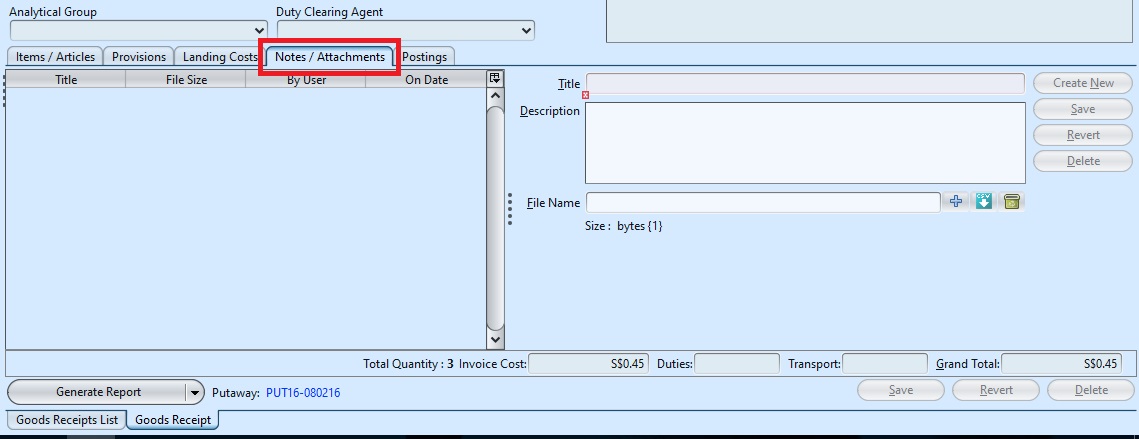
5. Click on “Notes / Attachments” tab at the middle of screen to add notes or files attachment for the goods receipt.
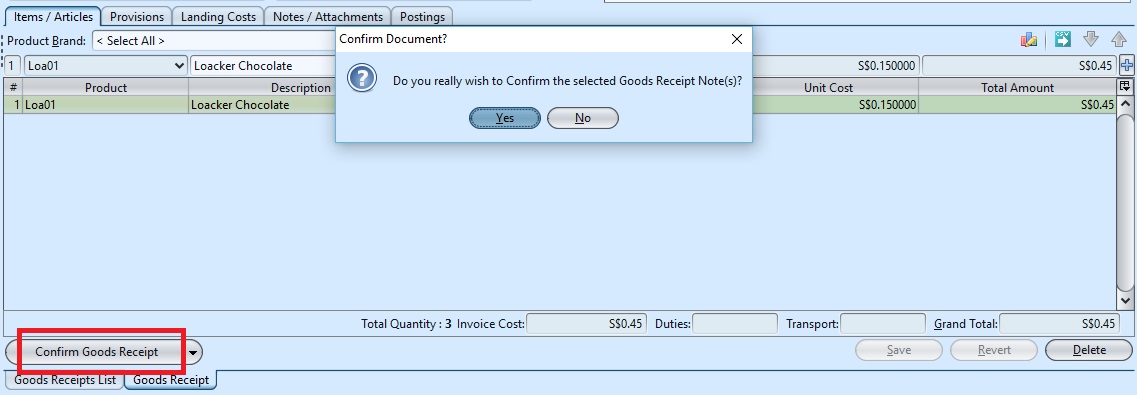
6. Click on “Confirm Goods Receipt” button at the bottom of screen to confirm the goods receipt
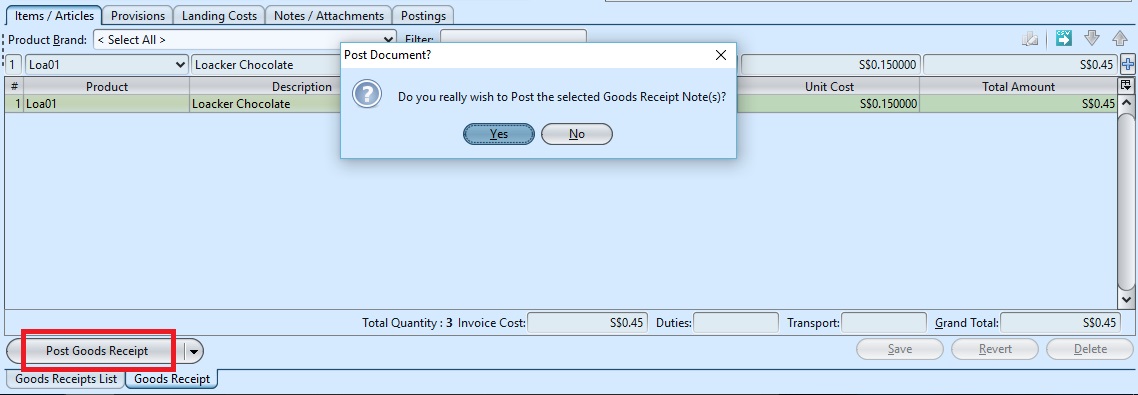
7. Click on “Post Goods Receipt” button at the bottom of screen to post the goods receipt. After posting of the goods posting, inventory journal entries will be automatically generated at the “Postings” tab.

8. Click on ![]() button to generate report for the goods receipt
button to generate report for the goods receipt

9. The putaway for the items will be automatically generate after posting of the goods receipt. Click on the “Putaway” link beside the ![]() button to view the putaway document & process it.
button to view the putaway document & process it.
Update Good Receipt
1. Click on “Goods Receipt List” tab at the bottom of screen
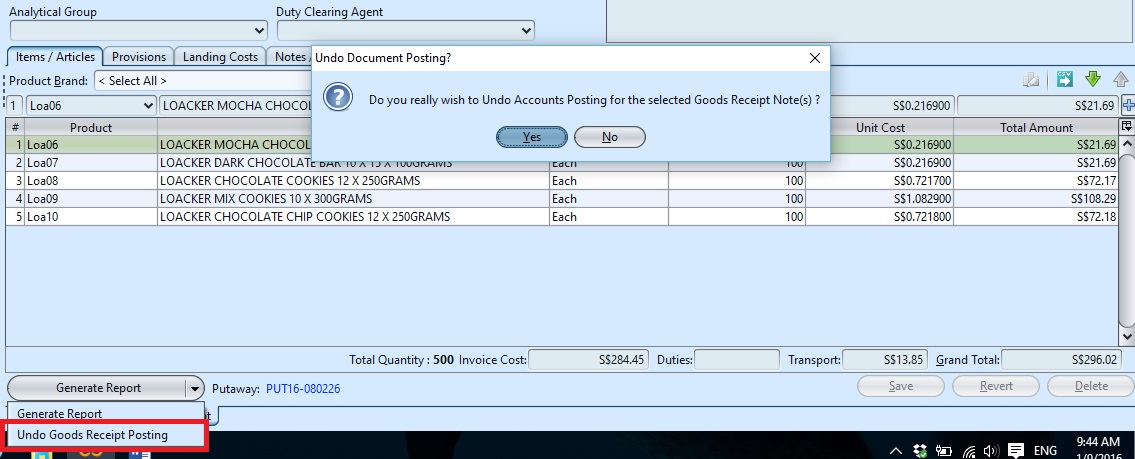
2. Double click on goods receipt to be updated, it will bring up the details on “Goods Receipt” tab for the selected receipt. If the goods receipt’s status is “Confirmed” or “Posted”, click arrow on “Generate Report” button and select option “Undo/Reopen Goods Receipt” at the bottom of screen and reopen / undo approval of the receipt first
3. Make change(s) on the goods receipt information
4. Click on “Save” button at the bottom right of screen when done
5. Click on “Revert” button at the bottom right of screen or refresh icon at the top of the screen to roll back the changes
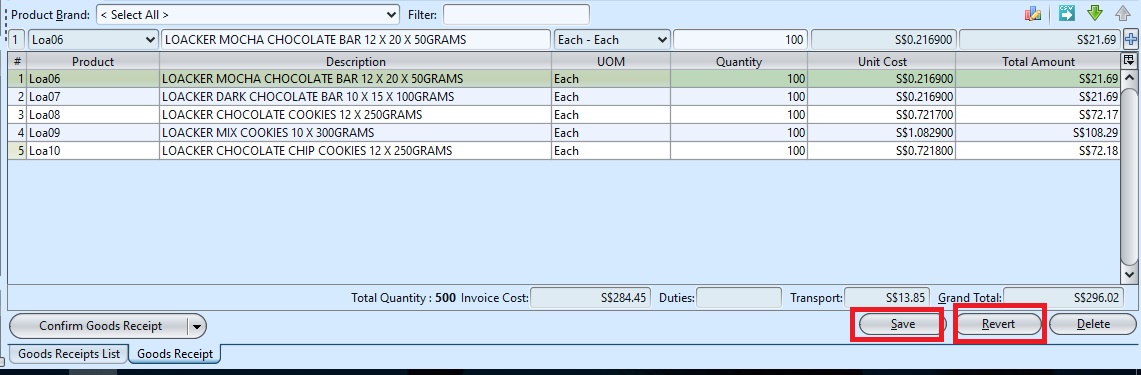
6. Click on “Confirm Goods Receipt” button at the bottom of screen to confirm the goods receipt
7. Click on “Post Goods Receipt” button at the bottom of screen to post the goods receipt.
Delete Good Receipt
1. Click on “Goods Receipt List” tab at the bottom of screen
2. Double click on goods receipt to be deleted, it will bring up the details on“Goods Receipt” tab for the selected receipt. If the goods receipt’s status is “Confirmed” or“posted”, click arrow on “Generate Report” button and select option “Undo/Reopen Goods Receipt” at the bottom of screen and reopen / undo approval of the receipt first
3. Click on “Delete” button at the bottom right side of screen
4. Click on “Yes” button on the pop-up window to confirm goods receipt deletion

View and Search for Goods Receipt
1. Click on “Goods Receipt List” tab at the bottom of screen
2. Enter search parameter to filter the result, i.e. type in which warehouse name to search for in the “Warehouse” text field box or select from drop-down list
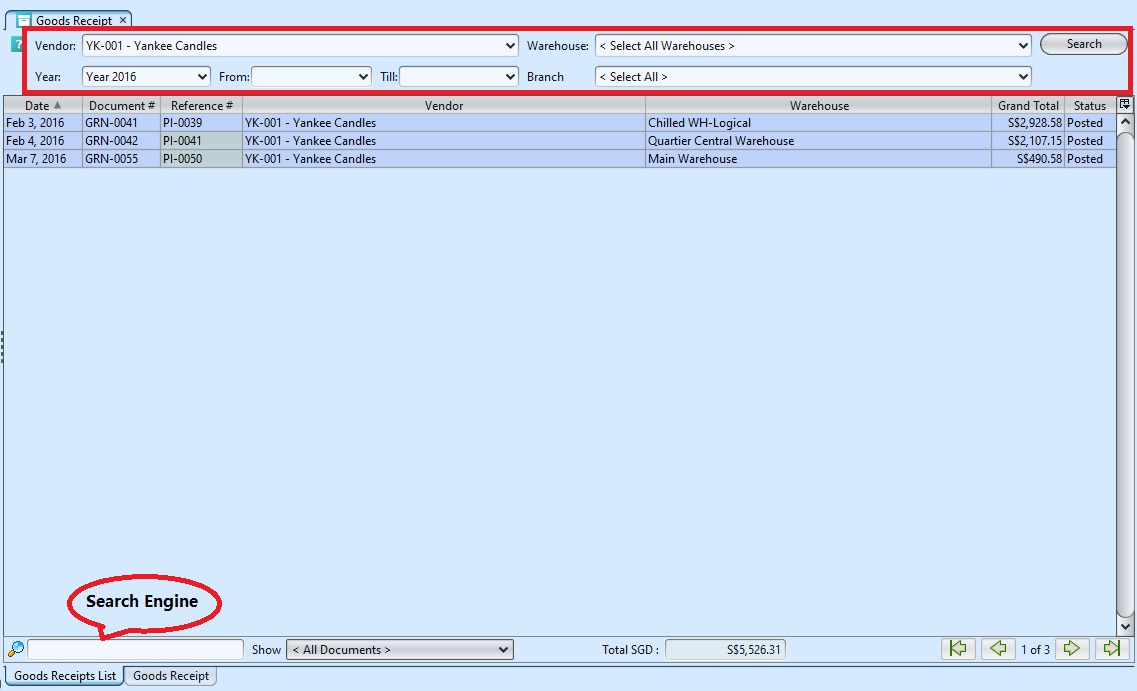
3. Result can be sorted alphabetically by clicking the fields’ columns.

4. Double click on goods receipt to view full details of the receipt, it will bring up the details on “Goods Receipt“ tab for the selected receipt
.