Stock Import
Stock Import allows user to import products’ stock into the system inventory. This is usually done when user first use the system, to populate it with their existing inventory.
Note: This process does not post to balance sheet accounts, it only post to inventory.
Below are available actions for the user from “Stock Import” view:
![]() Create new stock import
Create new stock import
![]() Update stock import details
Update stock import details
![]() Delete stock import
Delete stock import
![]() View and search stock import details
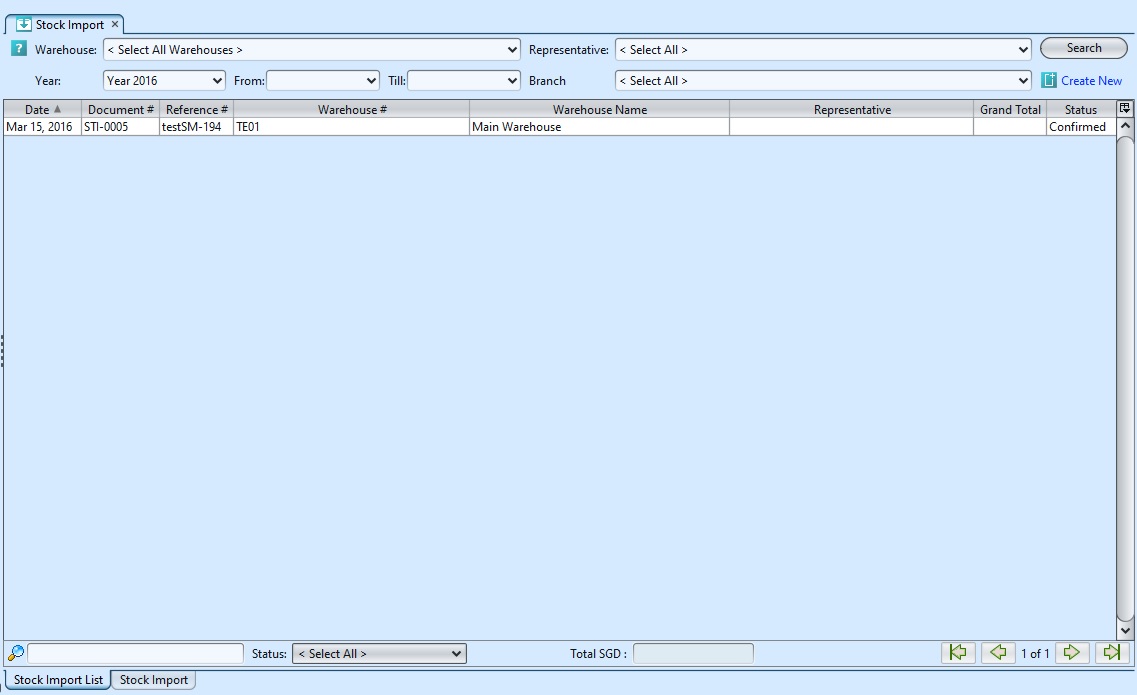
View and search stock import details
Field Name |
Explanation |
Mandatory Information |
| Document Date | Creation date of the document | Y |
| Document Number | Document number of the stock import | Y |
| Reference Number | Code for easy reference search of the document | N |
| Branch | Name of company’s branch which process the stock import | Y |
| Warehouse | The warehouse to populate with the imported stock | Y |
| Representative | Name of staff to process the stock import | N |
| Staging Locator | Self-explanatory | Y |
| Description | Additional information in regard to the stock import document | N |
| Product Brand | Select product brand(s) to filter products | N |
| Filter | Enter keyword(s) to filter / search for products | N |
| Product | Product code of the item | Y |
| Description | Description of the item | N |
| Uom | Type of the item | Y |
| Quantity | Number of quantity of the item to import | Y |
| Unit Cost | Cost per item | Y |
| Batch # | Self-explanatory | Y |
| Expiry Date | Self-explanatory | N |
| Line Total | Total cost for the imported product | Y |
| Grand Total | Total cost for all the items on the stock import | Y |
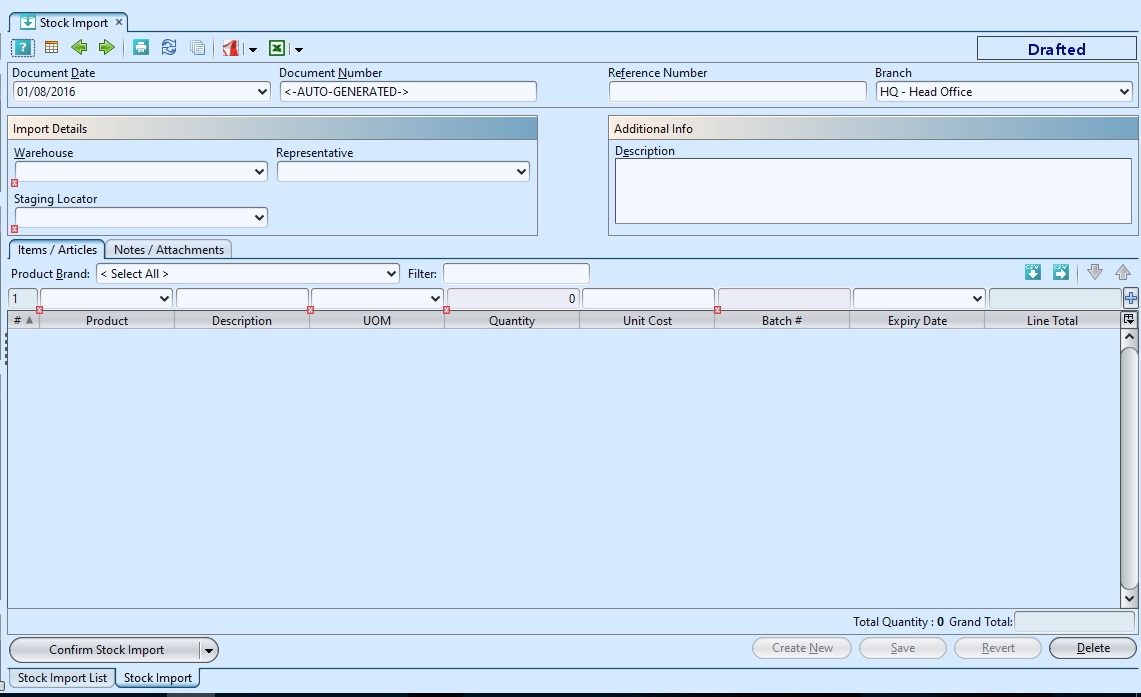
Create New Stock Import:
1. Click on “Create New” at the top right of screen of “Stock Import List” tab, it will open“Stock Import” tab with empty form

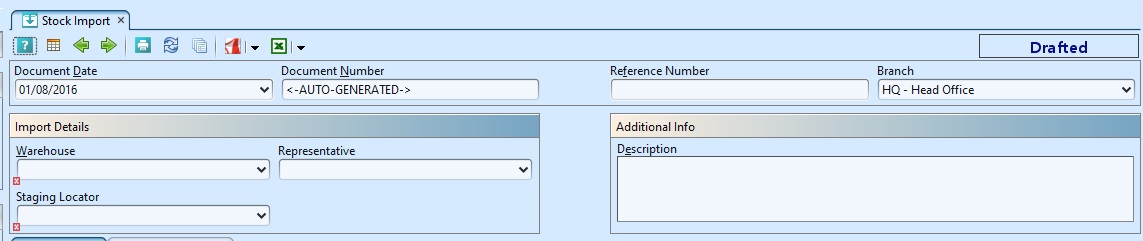
2. Select a warehouse from the “Warehouse” drop-down list on top left side of screen. It will fill up the form with the warehouse’s info
3. Fill up stock import information on the top half of screen
4. Click “Save” button at the bottom right side of screen
5. Filter the products list by selecting a brand from “Product Brand” drop-down list. Add product into the stock import by searching for the product from the product drop-down list in the table on “Items / Articles” tab
6. Enter the product’s info and click ![]() button to add the product into the stock import
button to add the product into the stock import

7. Repeat steps 5-6 to add more products into the stock import
8. Click on “Notes / Attachments” tab at the middle of screen to add notes or files attachment for the stock import
9. Click on “Save” button at the bottom right of screen when completed
10. Click on “Confirm Stock Import” button at the bottom of screen to confirm the stock import
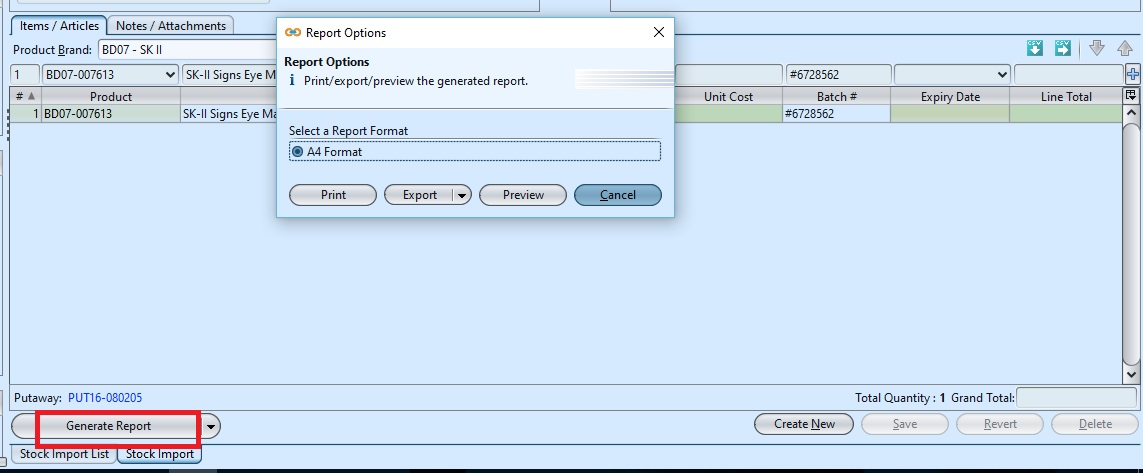
11. Click on “Post To Inventory” button at the bottom of screen to post the stock import. A link to putaway document will show up above “Generate Report” button after the posting

12. Click on “Generate Button” button at the bottom of screen to generate the stock import report, a window will come up showing print report options. User can print report, export the report as PDF or excel, or preview the report
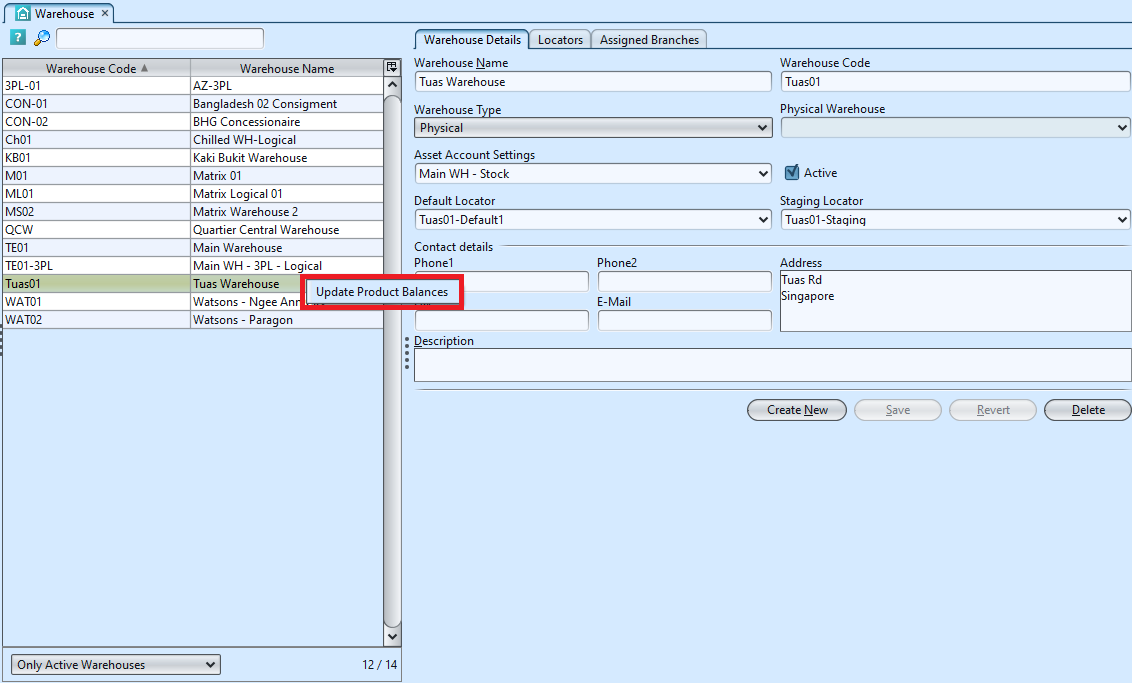
13. Open “Inventory – Warehouse (Master)”.
14. Right-click on the warehouse (of the completed Stock Import) from the list of warehouse on the left, and select option “Update Product Balances” for the warehouse. This step updates the warehouse’s opening balance in some of the inventory reports.
Update Stock Import Details:
1. Click on “Stock Import List” tab at the bottom of screen
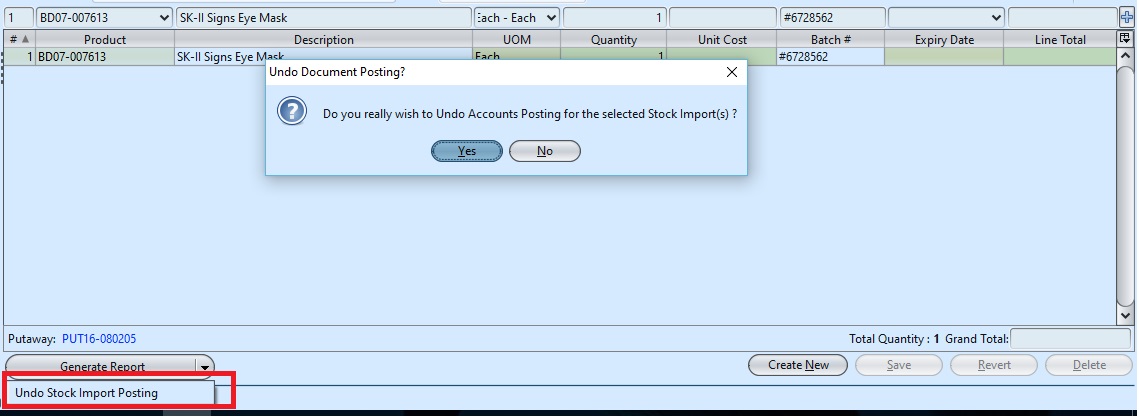
2. Double click on stock import to be updated, it will bring up the details on “Stock Import” tab for the selected document. If a stock import’s status is “Confirmed” or “Posted”, click arrow on “Generate Report” button on the bottom left of “Stock Import” tab and reopen / undo posting of the document first
3. Make change(s) on the stock import information
4. Click on “Save” button at the bottom right of screen when done
5. Click on “Revert” button at the bottom right of screen or refresh icon at the top of the screen to roll back the changes
6. Click on “Confirm Stock Import” button at the bottom of screen to confirm the stock import
7. Click on “Post To Inventory” button at the bottom of screen to post the stock import. A link to putaway document will show up above “Generate Report” button after the posting
Delete Stock Import:
1. Click on “Stock Import List” tab at the bottom of screen
2. Double click on stock import to be deleted, it will bring up the details on “Stock Import” tab for the selected order. If a stock import’s status is “Confirmed” or “Posted”, right click on the document and reopen / undo posting of the document first
3. Click on “Delete” button at the bottom right side of screen
4. Click on “Yes” button on the pop-up window to confirm stock import deletion
View and Search for Stock Import Details:
1. Click on “Stock Import List” tab at the bottom of screen
2. Enter search parameter to filter the result, i.e. type in which warehouse to search for in the“Warehouse” text field box or select from drop-down list
3. Result can be sorted alphabetically by clicking the fields’ columns
4. Double click on stock import to view full details of the document, it will bring up the details on “Stock Import” tab for the selected stock import