


Receipts view allows users to manage receipts and payments received from customers / debtors. Below actions are available from“Receipts”:
![]() Create new receivable receipt; update, delete, view and search for receipt details
Create new receivable receipt; update, delete, view and search for receipt details
Field Name |
Description |
Mandatory Information |
| Document Date | Date of the receipt |
Y |
| Document Number | Document number for the receipt |
Y |
| Reference Number | Reference code for easy search |
N |
| Branch | Company’s branch |
N |
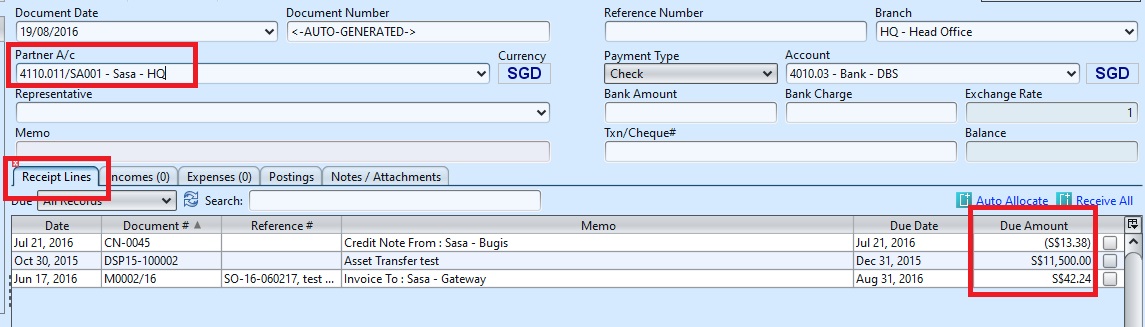
| Debtor | Select the debtor to issue the receipt. (Once user select a debtor, the account and currency will automatically fill up) |
Y |
| Payment Type | Select the payment method |
Y |
| Account | Select bank account for the receipt |
Y |
| Representative | Company’s internal representative who handle the debtor account |
N |
| Memo | A memorandum for the receipt |
Y |
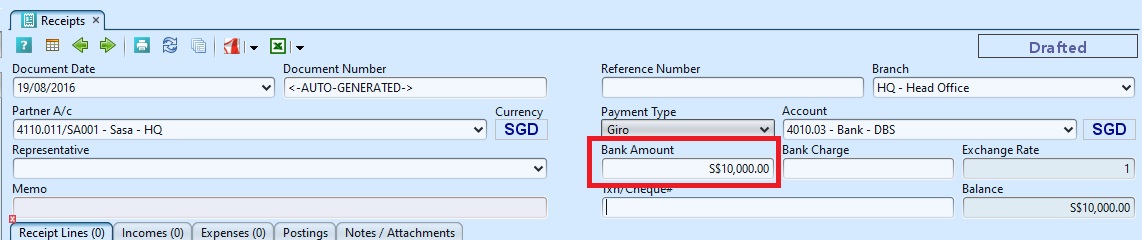
| Bank Amount | Company’s bank amount |
N |
| Bank Charge | A fee levied on an account by a financial institution. |
N |
| Txn/Cheque # | Transaction / Cheque number |
N |
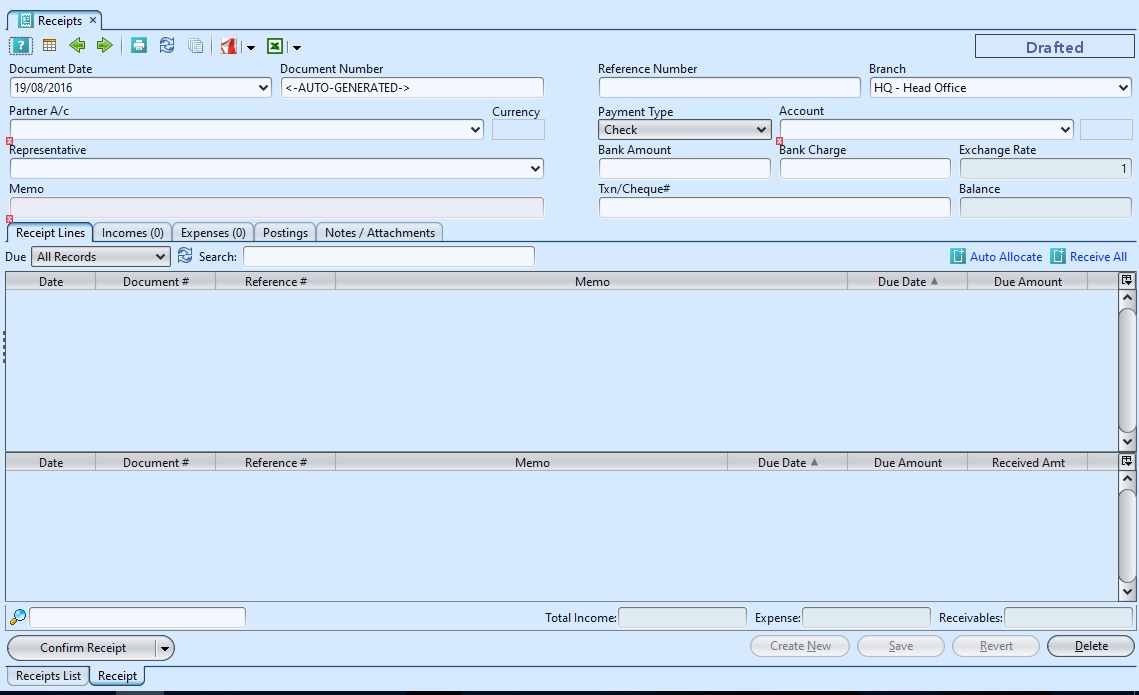
Create New Receivable Receipt
1. Click on “Create New Receipt” at the top right of screen of “Receipts List” tab, it will open “Receipt” tab with empty form

2. Select a debtor from the “Debtor” drop-down list on top right side of screen. It will pull up all receipts of payments owed by the debtor on “Receipt Lines” tab
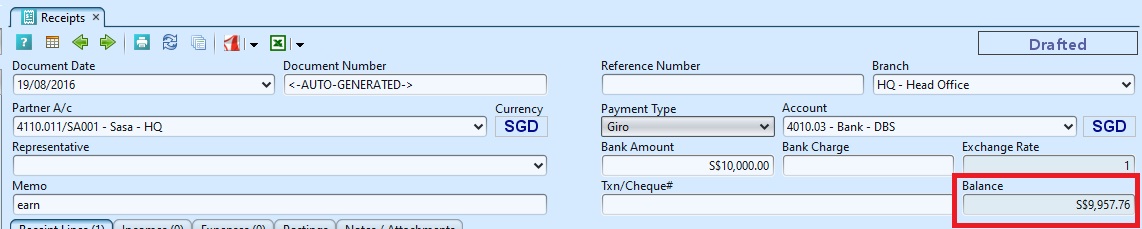
3. Fill up receipt’s information with any payment received from the debtor on the “Bank Amount” (top right of screen)
4. Tick the box behind a receipt line to change the status to “Received” to acknowledge payment received for the receipt(s) owed. It will move the receivable(s) to the bottom table and update the “Balance” amount (top right of screen)

5. “Balance” amount cannot be negative
6. Click on “Income” and / or “Expense” tab at the middle of screen to add journal entry for the debtor if any

7. Click on “Notes / Attachments” tab at the middle of screen to add notes or files attachment for the receipt
8. Click on “Save” button at the bottom of screen to save
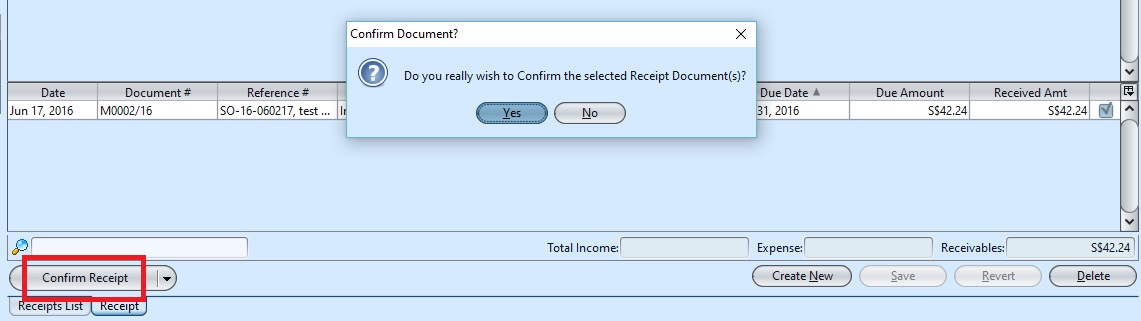
9. Click on “Confirm Receipt” button at the bottom of screen to confirm the receipt
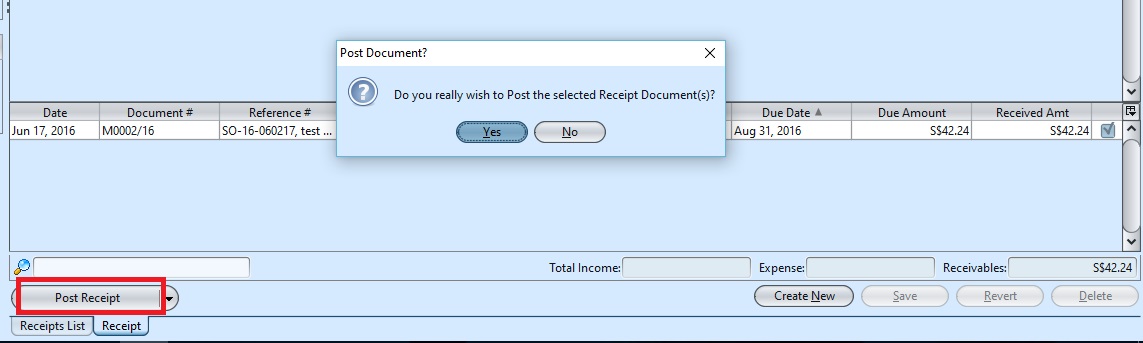
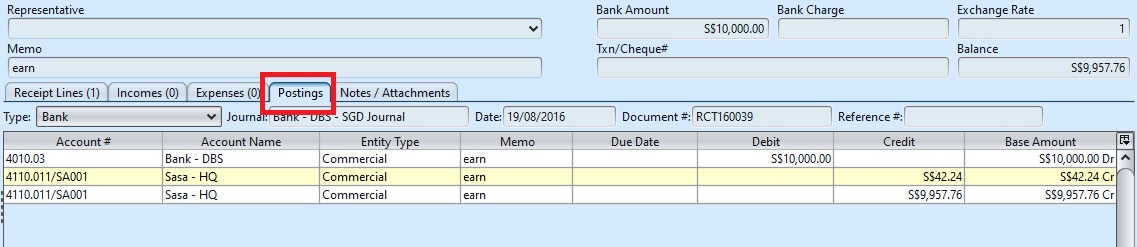
10. Click on “Post Receipt” button at the bottom of screen to post the receipt. Journal entries for the reconciled receipts will be automatically created under “Postings” tab
Update Receipt Details
1. Click on “Receipts List” tab at the bottom of screen
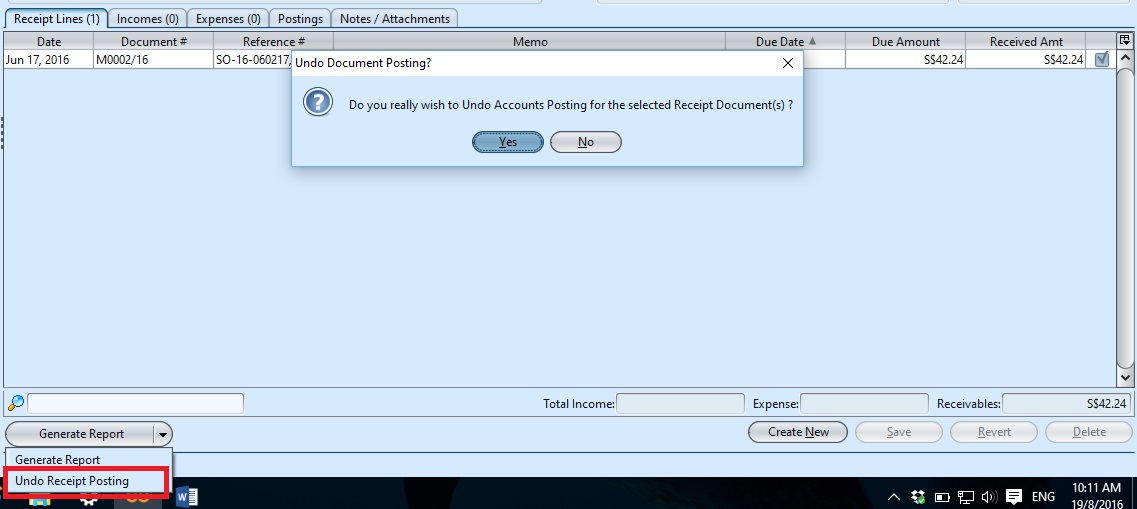
2. Double click on receipt to be updated, it will bring up the details on “Receipt” tab for the selected receipt. If a receipt’s status is “Confirmed” or “Posted”, right click on the receipt and reopen / undo posting of the receipt first
3. Make change(s) on the receipt information
4. Click on “Save” button at the bottom of screen to save
5. Click on “Revert” button at the bottom of screen or refresh icon at the top of the screen to roll back the changes
6. Click on “Confirm Receipt” button at the bottom of screen to confirm the receipt
7. Click on “Post Receipt” button at the bottom of screen to post the receipt
Delete Receipt
1. Click on “Receipts List” tab at the bottom of screen
2. Double click on receipt to be deleted, it will bring up the details on “Receipt” tab for the selected receipt. If a receipt’s status is “Confirmed” or “Posted”, right click on the receipt and reopen / undo posting of the receipt first
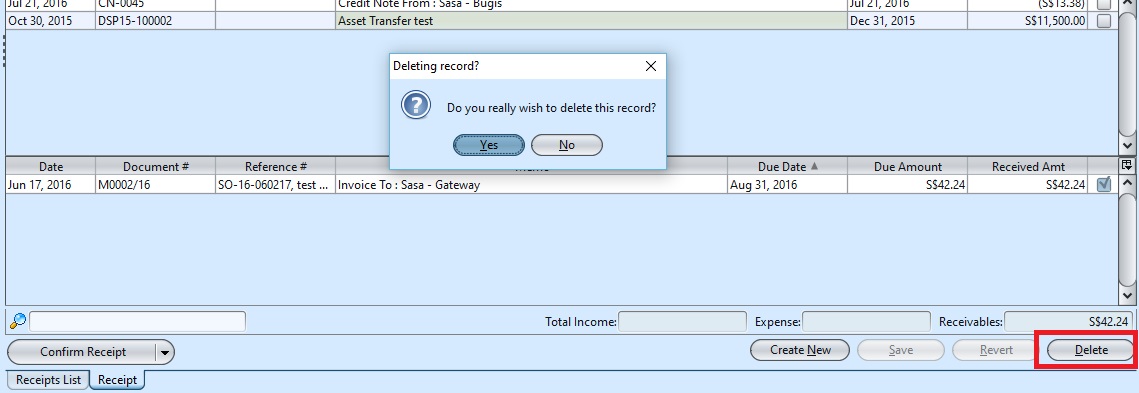
3. Click on “Delete” button at the bottom right side of screen
4. Click on “Yes” button on the pop-up window to confirm receipt deletion
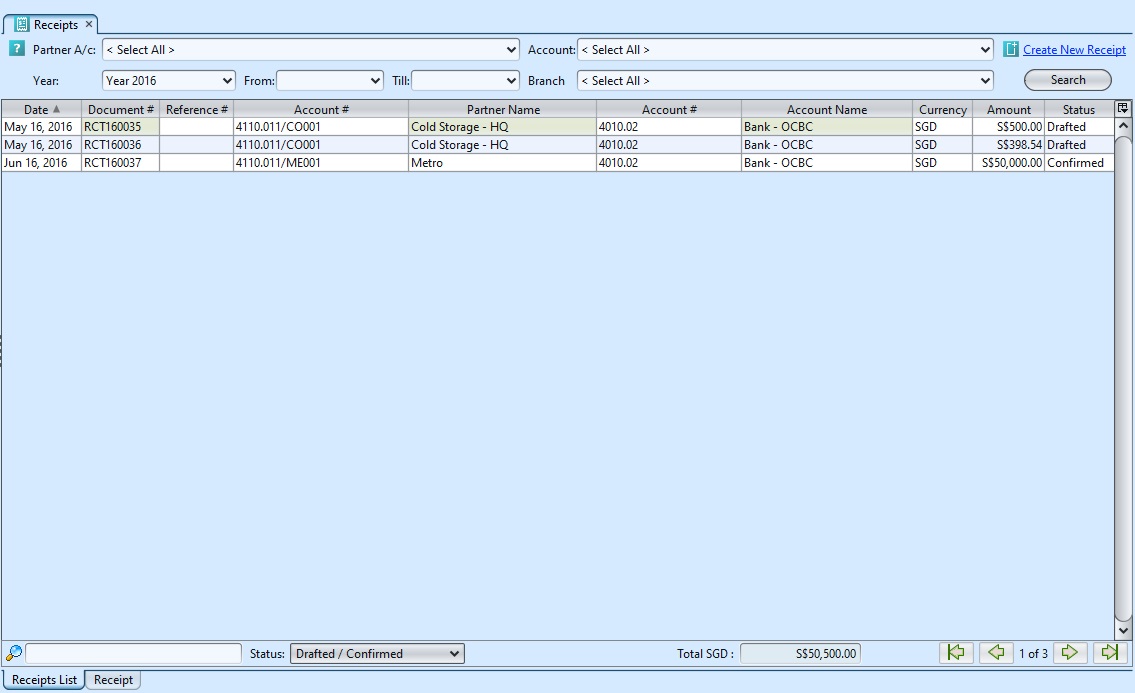
View and Search for Receipt Details
1. Click on “Receipts List” tab at the bottom of screen
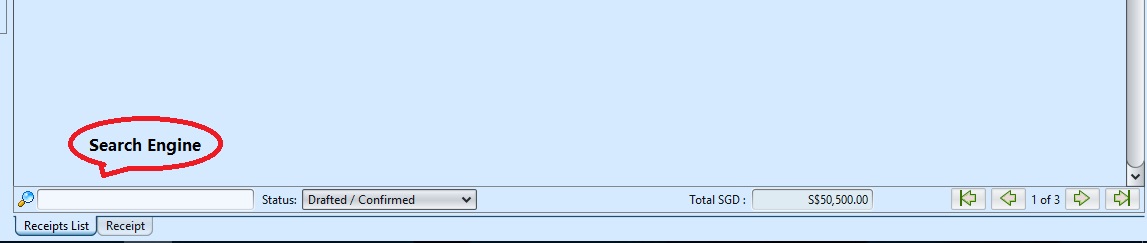
2. Enter search parameter to filter the result, i.e. type in which debtor to search for in the “Debtor” text field box or select from drop-down list
3. Result can be sorted alphabetically by clicking the fields’ columns

4. Double click on receipt to view full details of the receipt, it will bring up the details on “Receipt” tab for the selected receipt