


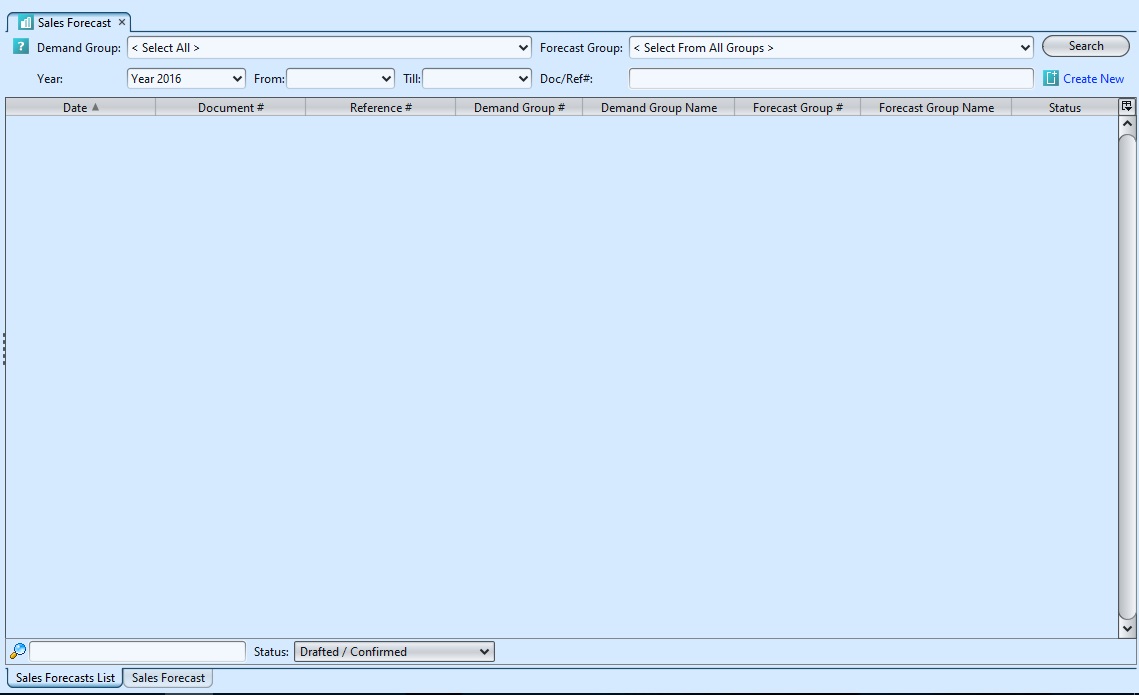
The Sales Forecasting uses embedded analytic which are the key that enables for the VP of sales, sales operations and front-end sales organizations to move from a culture based only on gut feeling and perception-based excels decision making to one based on factual data supporting tactical and strategic decision making. It all start with defining the Demand Planning, with the creation of the Sales Forecast List.The user can create different demand groups that are linked to forecast groups. Once the sales forecast list is created the sales forecast reporting can be activated using the different selected parameters in the sales forecast applications. Below actions are available under “Sales Forecast”:
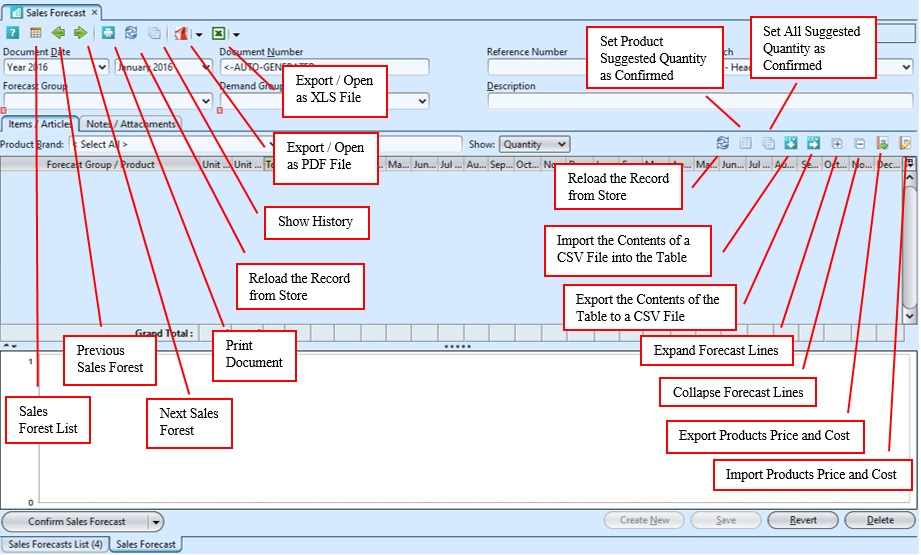
![]() Create new sales forecast, update, delete, view and search for proforma invoice details
Create new sales forecast, update, delete, view and search for proforma invoice details
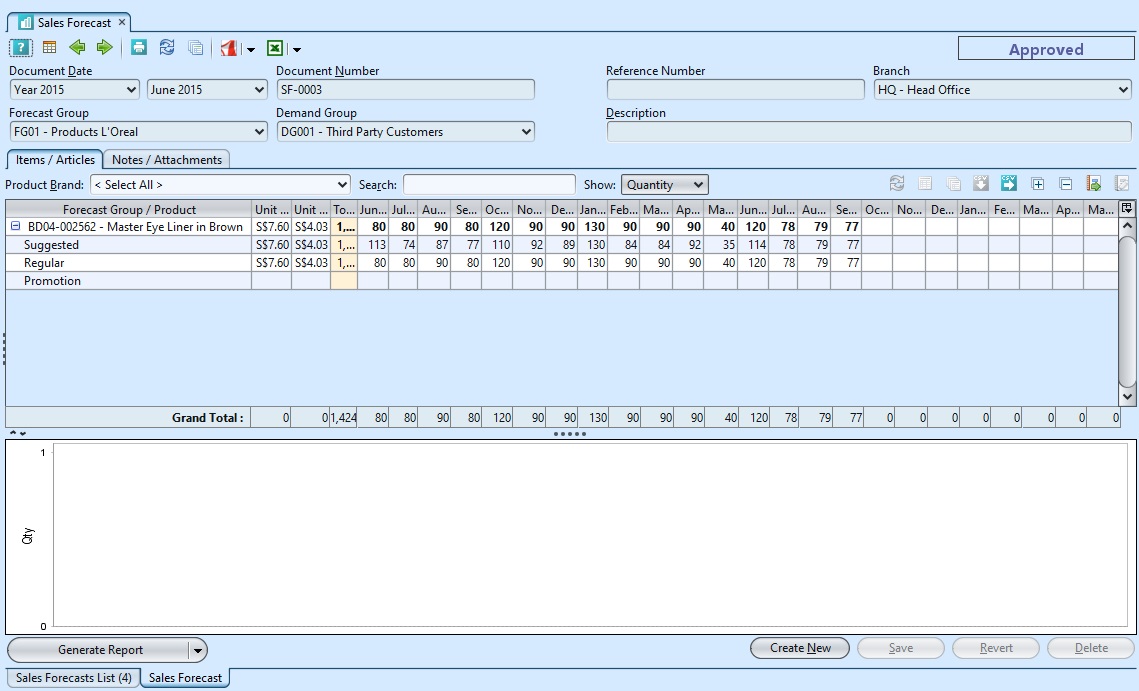
Field Name |
Explanation |
Mandatory Information |
| Document Date | Select the date of document |
Y |
| Document Number | Self-Explanatory |
Y |
| Reference Number | Self-Explanatory |
N |
| Branch | Self-Explanatory |
N |
| Forecast Group | Select the forecast group |
Y |
| Demand Group | Select the demand group |
Y |
| Description | Self-Explanatory |
N |
Create New Sales Forecast
1. Click on “Create New” at the top right of screen of “Sale Forecasts List” tab, it will open “Sales Forecast” tab with empty form

2. Fill up the information
3. Optional: Click on “Notes / Attachments” tab at the middle of screen to add notes or files attachment for the sales forecast
4. Click “Save” button at the bottom right side of screen to save the sales forecast.
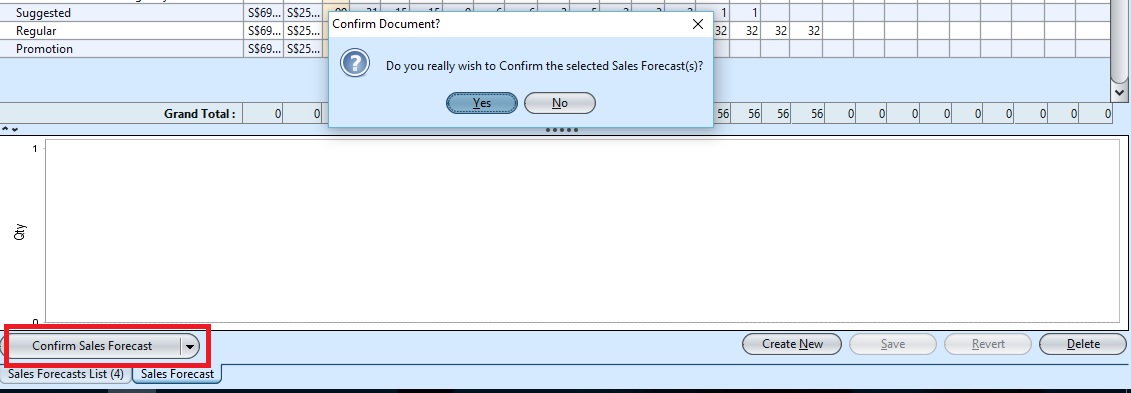
5. Click on “Confirm Sales Forecast” button at the bottom of screen to confirm the sales forecast.
6. Click on “Approve Sales Forecast” button at the bottom of screen to approve the sales forecast.

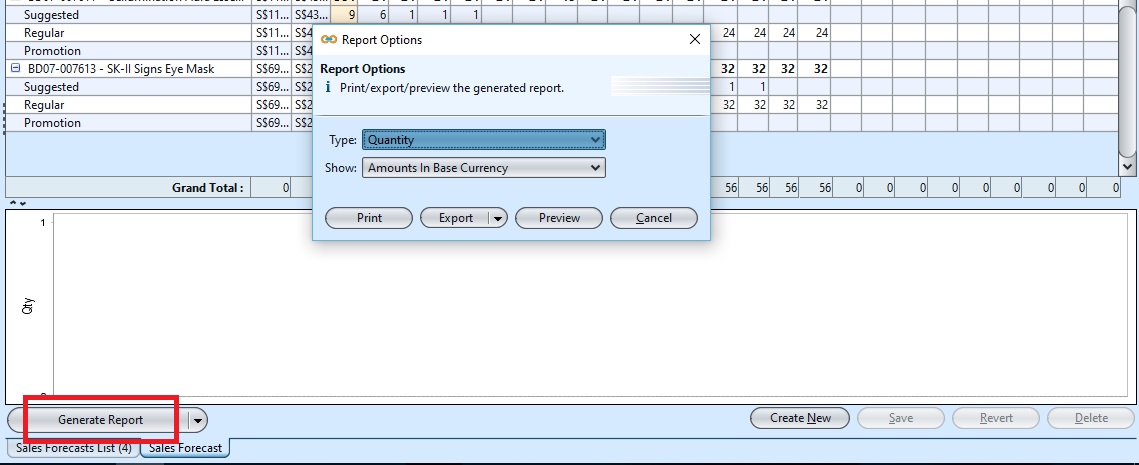
7. Click arrow on ![]() button to generate report.
button to generate report.
Update Sales Forecast Details
1. Click on “Sales Forecast List” tab at the bottom of screen
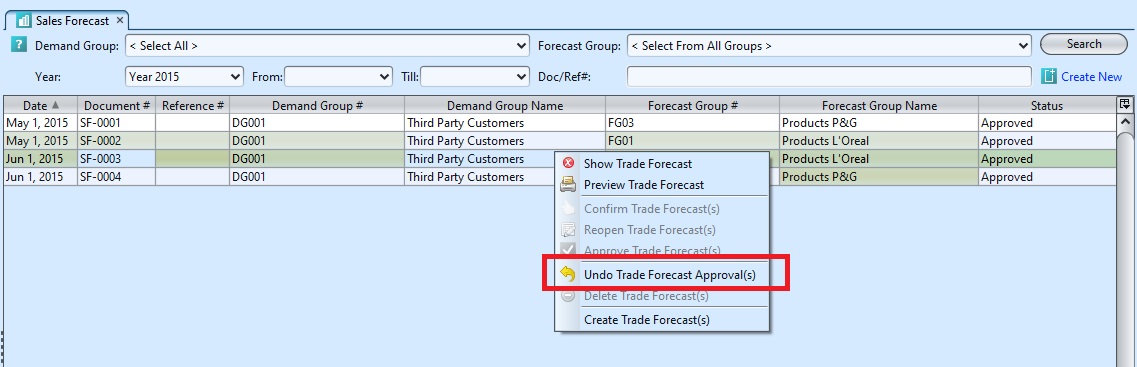
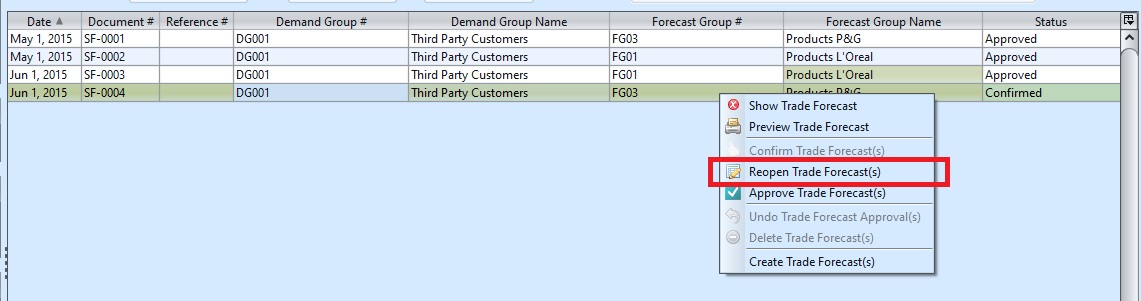
2. Double click on sales forecast to be updated, it will bring up the details on “Sales Forecast” tab for the selected document. If a sales forecast’s status is “Confirmed” or “Approved”, right click on the order and reopen / undo approval of the order first
3. Make change(s) on the sales forecast information
4. Click on “Save” button at the bottom right of screen to save
5. Click on “Revert” button at the bottom right of screen or refresh icon at the top of the screen to roll back the changes
6. Click on “Confirm Sales Forecast” button at the bottom of screen to confirm the sales forecast.
7. Click on “Approve Sales Forecast” button at the bottom of screen to approve the sales forecast.
Delete Sales Forecast
1. Click on “Sales Forecast List” tab at the bottom of screen
2. Double click on sales forecast to be deleted, it will bring up the details on “Sales Forecast” tab for the selected document. If a sales forecast’s status is “Confirmed” or “Approved”, right click on the order and reopen / undo approval of the order first
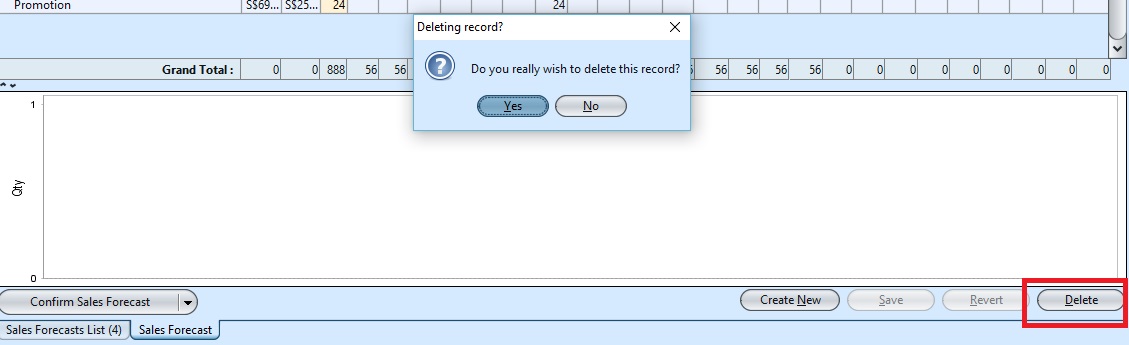
3. Click on “Delete” button at the bottom right side of screen
4. Click on “Yes” button on the pop-up window to confirm sales order deletion
View and Search for Sales Forecast Details
1. Click on “Sales Forecast List” tab at the bottom of screen.
2. Enter search parameter to filter the result, i.e. type in which demand group to search for in the“Demand Group” text field box or select from drop-down list
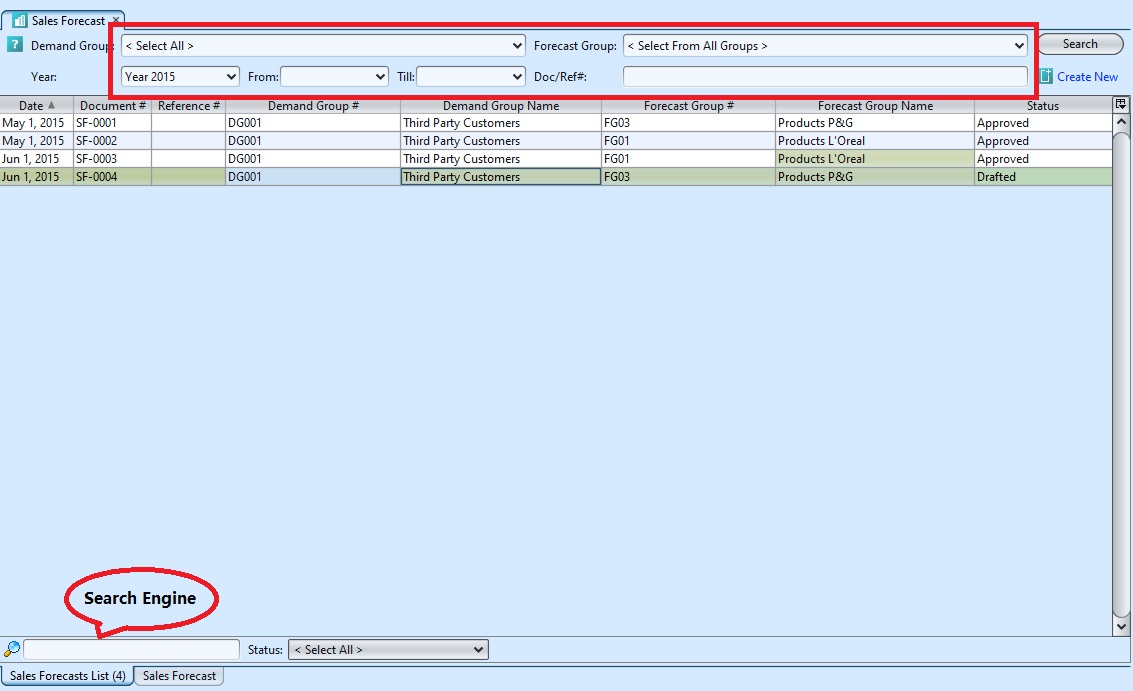
3. Result can be sorted alphabetically by clicking the fields’ columns

4. Double click on sales forecast to view full details of the document, it will bring up the details on “Sales Forecast” tab for the selected forecast.