


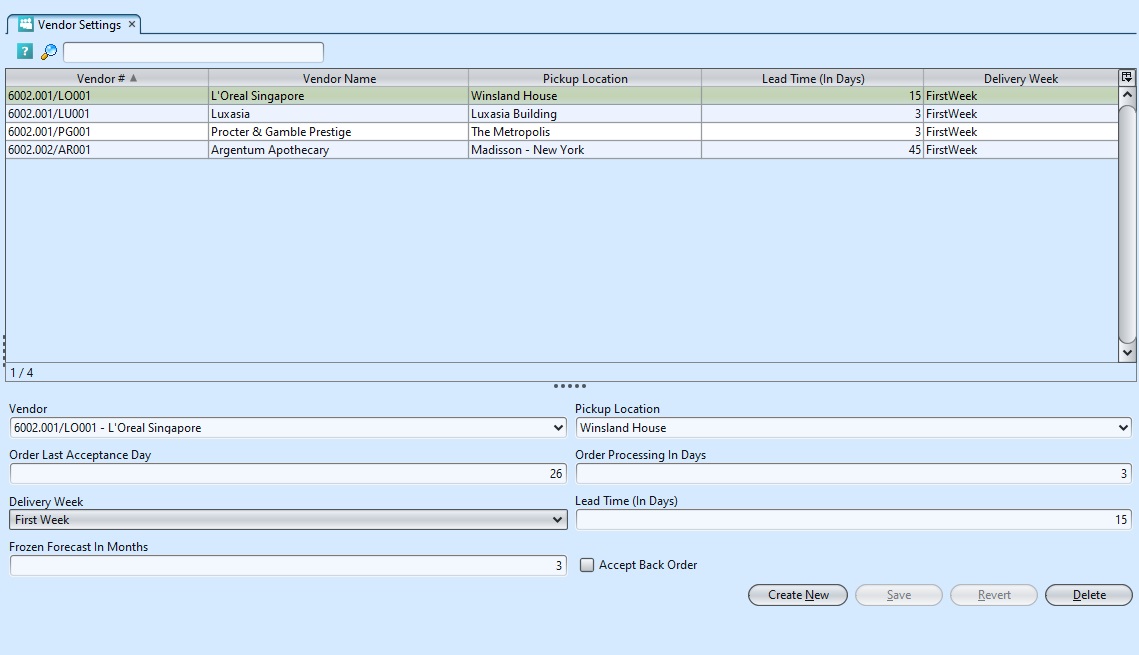
The vendor master setup in Supply Chain Master allows the user to create new, Save,Revert and Delete vendor setup records. Below are available actions for the user from “Vedor Setting” :
![]() Create new, revert and delete the vendor setting
Create new, revert and delete the vendor setting
![]() View and search for the setting details
View and search for the setting details
Field Name |
Explanation |
Mandatory Information |
| Vendor | Select Vendor |
Y |
| Pickup Location | Select Pickup Location |
Y |
| Order Last Acceptance Day | Self-explanatory |
Y |
| Delivery Week | Select delivery week |
Y |
| Lead Time (In Days) | Time taken for the Order to be received |
N |
| Frozen Forecast In Months | Forecasted for the number of months |
N |
| Accept Back Order | If Vendor accept Back Order |
N |
Create Vendor Setting
1. Click “Create New” button at the bottom right side of screen

2. Fill up information at bottom half of screen
3. Click “Save” button at the bottom right side of screen when done

Update Journal Details
1. Click on vendor to be updated, it will bring up the selected vendor setting details on the bottom half of the screen
2. Click “Save” button at the bottom right side of the screen when done with the updates
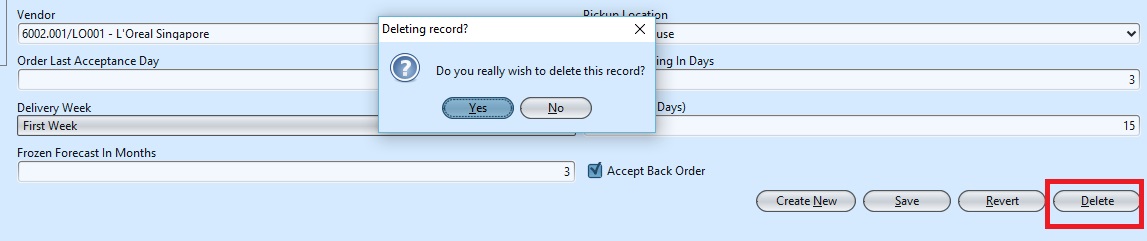
Delete Journal
1. Click on vendor to be updated, it will bring up the selected vendor setting details on the bottom half of the screen
2. Click on “Delete” button at the bottom right side of screen
3. Click on “Yes” button on the pop-up window to confirm setting deletion
View and Search for Vendor Setting:
1. On top left of screen enter search parameter to filter the result, i.e. type in the name of vendor in the search textfield box.

2. Result can be sorted alphabetically by clicking the fields’ columns

3. Double click on vendor setting to view full details of the scheme, it will bring up the details on the bottom of the screen